
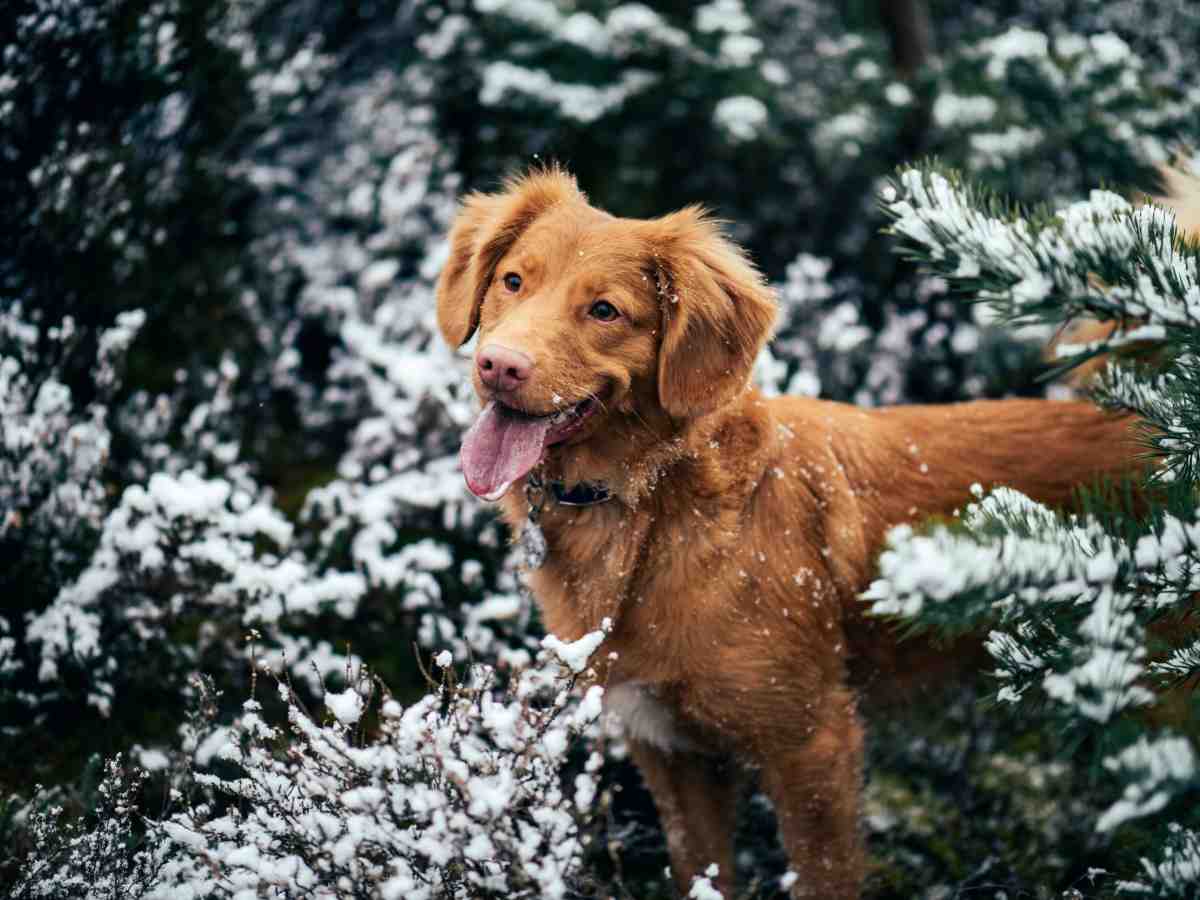
How to Winterize Invisible Dog Fence Systems Before Snow Hits
Winter changes everything about your yard. The ground freezes, snow buries the flags, and your dog shows up in a coat twice as thick as the one they wore in July.
Planning to winterize invisible dog fence equipment this fall? That’s the right call. A system that ran flawlessly all summer can develop gaps, weak signals, or silent failures once the cold sets in.
Quick Answer: How to Winterize an Invisible Dog Fence
To winterize invisible dog fence systems, test the boundary wire and fix breaks before the first freeze, keep the transmitter indoors and dry, install fresh collar batteries, use longer contact points for thick fur, and run a short refresher training before heavy snow arrives.
Why You Need to Winterize Invisible Dog Fence Equipment
Cold weather stresses every part of the system. Knowing the weak points helps you prioritize your time.
- Frozen ground: Soil expands and contracts as it freezes and thaws. Over time, this can stretch or snap buried wire, especially at splices.
- Cold batteries: Collar batteries drain faster in low temperatures. A collar that worked last week can die mid-morning on a frigid day.
- Thick fur: A fluffy winter coat can keep the contact points from touching the skin. No contact means no correction.
- Snow cover: Snow hides your boundary flags. Your dog loses the visual cues that reinforce training.
- Snow removal: Shovels, snowblowers, and plow blades can damage wire buried near the surface.
The good news is that snow itself doesn’t block the signal from a buried wire. The system still works. It just needs a little extra attention.

Step-by-Step: How to Winterize Invisible Dog Fence Wiring and Gear
Plan to winterize invisible dog fence components in early to mid fall, before the ground freezes. A dry afternoon and about two hours is usually enough.
Step 1: Walk the Entire Boundary
Start with a slow walk along your wire path. You’re looking for anything that has changed since spring.
Check for:
- Exposed or surfacing wire, especially near trees, flower beds, and driveways
- Washed-out soil from heavy rain or erosion
- New landscaping, garden beds, or post holes near the wire
- Rodent damage or chew marks on visible sections
Rebury any exposed wire. A shallow trench a couple of inches deep is typically enough, but follow your manufacturer’s guidance for your system.
Step 2: Test the System and Find Hidden Breaks
Turn on the transmitter and use the collar’s test light or a signal tester. Walk the boundary and confirm the collar activates at the same distance all the way around.
If the signal drops in one area, you may have a break or a bad splice. Most transmitters have a loop alarm that sounds when the circuit is broken.
If you find a problem, fix it now. Frozen ground makes repairs far harder in January.
[Internal Link: how to find and fix a broken invisible fence wire]
Common wire repair tips:
- Use waterproof, gel-filled splice connectors, not electrical tape.
- Splice both wires together with the connector pressed fully shut.
- Rebury the repaired section so it isn’t exposed.
- Retest the loop before you pack up your tools.
Step 3: Protect Your Transmitter
The transmitter is the brain of your fence. When you winterize invisible dog fence electronics, location matters most, because cold, moisture, and power surges can all shorten its life.
Place it in a dry, temperature-stable spot like a heated garage, utility room, or basement. Never leave it in an unheated shed or on a damp concrete floor. Check your manual for the recommended operating temperature range.
Plug it into a surge protector. Winter storms bring outages and power spikes, and those can fry sensitive electronics. If your model has a battery backup option, consider it.

Step 4: Replace Collar Batteries and Inspect the Collar
Start winter with fresh batteries, even if the old ones still seem fine. Cold weather can drain a half-used battery much faster than you’d expect.
Many owners find that lithium batteries hold up better in cold conditions than standard alkaline ones. If you have a rechargeable collar, charge it fully before every long outdoor session.
Also inspect the collar itself:
- Check that the strap isn’t cracked or stiff from the cold
- Make sure the waterproof seal is intact
- Clean the contact points of dirt and salt residue
[Internal Link: best invisible fence collars for small and large dogs]
Step 5: Fix the Fit for Winter Fur
This is the step most owners miss when they winterize invisible dog fence collars. A heavy coat can lift the contacts off the skin, and the dog learns that the fence is optional.
You have a few ways to handle it:
- Swap to longer contact points (most kits include them)
- Lightly trim the fur around the neck where the contacts sit
- Re-check the fit weekly, since coats change through the season
A good rule of thumb is that you should fit one finger under the collar. Snug is fine. Tight or loose is not.
Step 6: Prepare for Snow and Mark the Boundary
Snow erases your flags, and so does shoveling. Your dog can lose track of where the boundary actually is.
Try these fixes:
- Use taller flags or stakes that stay visible above the snow line
- Take a photo of your wire path in the fall, or sketch it on paper
- Mark the wire near driveways and walkways before the first storm
- Tell anyone who clears snow, including neighbors or a plow service, where the wire runs
Keep snowblower and shovel use gentle near the boundary. Scraping hard against the ground can nick wire that sits close to the surface.
Step 7: Run a Winter Refresher Training
Training is the final piece to winterize invisible dog fence setups properly. Months of mild weather can make a dog forget the finer points, and white ground with no flags adds confusion.
Spend a week doing short sessions:
- Put the collar on and walk your dog along the boundary on leash.
- Let them hear the warning beep, then guide them back with praise.
- Reward them with treats for turning around on their own.
- Repeat for 10 to 15 minutes a day.
Keep it positive. You’re reminding them, not retraining from scratch.

Winterize Invisible Dog Fence by Fence Type
Different systems have different winter quirks. Here is how each type responds when you winterize invisible dog fence hardware.
| Brand/Feature | Key Highlight | Best For | Rating/Durability |
|---|---|---|---|
| In-Ground Wired (PetSafe, Sport Dog, Invisible Fence® Brand) | Buried wire still works under snow | Cold climates, large yards | ★★★★★ Very reliable if splices are sound |
| Wireless Radius (PetSafe Wireless) | Easy to shut down and store | Small yards, mild winters | ★★★☆☆ Wet snow and ice can affect signal |
| GPS (Halo, SpotOn) | No wire to freeze or break | Rural land, open skies | ★★★☆☆ Battery life drops in extreme cold |
| Rechargeable Collars (various brands) | No battery swaps in winter | Busy owners, daily users | ★★★★☆ Charge more often when it’s freezing |
Should You Keep the Fence Running All Winter?
Once you winterize invisible dog fence components, you’ll face one more decision: leave the system on or shut it down. Most owners should keep it on, since your dog still needs protection when snow makes the yard feel unfamiliar.
Keeping the Fence On All Winter
✓ Pros
- ✓ Continuous protection when your dog is outside
- ✓ No retraining needed in spring
- ✓ You catch wire problems as they happen
✗ Cons
- ✗ Batteries need frequent attention
- ✗ A power outage can leave you unprotected
Shutting It Down for the Season
✓ Pros
- ✓ Saves collar battery life
- ✓ Fine if your dog is only outside on a leash
✗ Cons
- ✗ Your dog can wander if they’re ever unsupervised
- ✗ You’ll need a refresher training in spring
- ✗ You may miss wire damage until it’s time to restart
If you do shut it down, supervise all outdoor time, and never rely on the fence by memory alone.
Winter Care Tips for Your Dog
Your dog’s comfort and safety matter just as much as the equipment.
- Limit cold exposure. Short, breed-appropriate outdoor sessions are safer than long ones in freezing weather.
- Check the neck. Cold, wet fur under a collar can cause irritation. Remove the collar indoors.
- Dry off after snow. Wet collars and wet skin can cause sores.
- Watch behavior. If your dog suddenly hesitates at the boundary or seems nervous, check the fit and the batteries first.
- Talk to your vet. Very small, senior, or short-haired dogs may need extra care in the cold.
Common Mistakes When You Winterize Invisible Dog Fence Systems
Most winter fence failures come down to a handful of avoidable errors.
- Waiting until the first snowfall. Once the ground freezes, you can’t fix a broken wire easily.
- Assuming no beep means no problem. A dead collar battery gives zero warning. Test before every outing in freezing weather.
- Ignoring the transmitter location. A cold, damp garage can shorten its lifespan.
- Skipping the fur check. This is the number one reason dogs slip through in winter.
- Forgetting about the flags. Without visual cues, even well-trained dogs can get confused.
- Using the fence as a substitute for supervision. No system replaces watching your dog, especially in bad weather.
Quick Checklist to Winterize Invisible Dog Fence Gear
Print this and keep it near the transmitter.
- ☐ Walk the boundary and check for exposed wire
- ☐ Test the signal around the full loop
- ☐ Repair any breaks with waterproof splices
- ☐ Move or protect the transmitter and add a surge protector
- ☐ Install fresh collar batteries
- ☐ Switch to longer contact points if needed
- ☐ Mark the boundary with taller flags
- ☐ Run a short refresher training week
[Internal Link: step-by-step guide to installing a DIY invisible fence]
Spring Reset: Don’t Forget This Part
When the snow melts, walk the boundary again. Freeze and thaw cycles can push wire up or shift splices, so test the system before your dog is back outside full time.
Check your flags, replace batteries, and revisit the fit of your collar. A quick spring check closes the loop on your winter prep.
Final Thoughts
Learning to winterize invisible dog fence systems isn’t complicated, but it does need to happen before the weather forces the issue. A couple of hours in the fall saves you from frozen-ground repairs and from a dog who’s learned the boundary has gaps.
Walk the wire, protect the transmitter, refresh the batteries, check the collar fit, and give your dog a short refresher. Do those things, and your fence will protect your dog all winter.
Frequently Asked Questions
Does an invisible dog fence work in snow?
Yes. A buried wire fence transmits its signal through snow and frozen ground, so it keeps working. The main winter issues are dead collar batteries, thick fur blocking the contact points, and hidden flags.
When should I winterize invisible dog fence systems?
Early to mid fall is ideal, before the ground freezes. That gives you time to repair wire, replace batteries, and run a refresher training session before the first heavy snow.
Should I turn off my invisible fence in winter?
Most owners are better off keeping it on, since your dog still needs protection outdoors. If you turn it off, supervise all outside time and plan on a refresher training session before restarting it in spring.
How do I keep collar batteries from dying in cold weather?
Install fresh batteries before winter, and consider lithium batteries if your collar supports them. Rechargeable collars should be fully charged before each outing. Test the collar often in freezing temperatures.


